What you'll need:
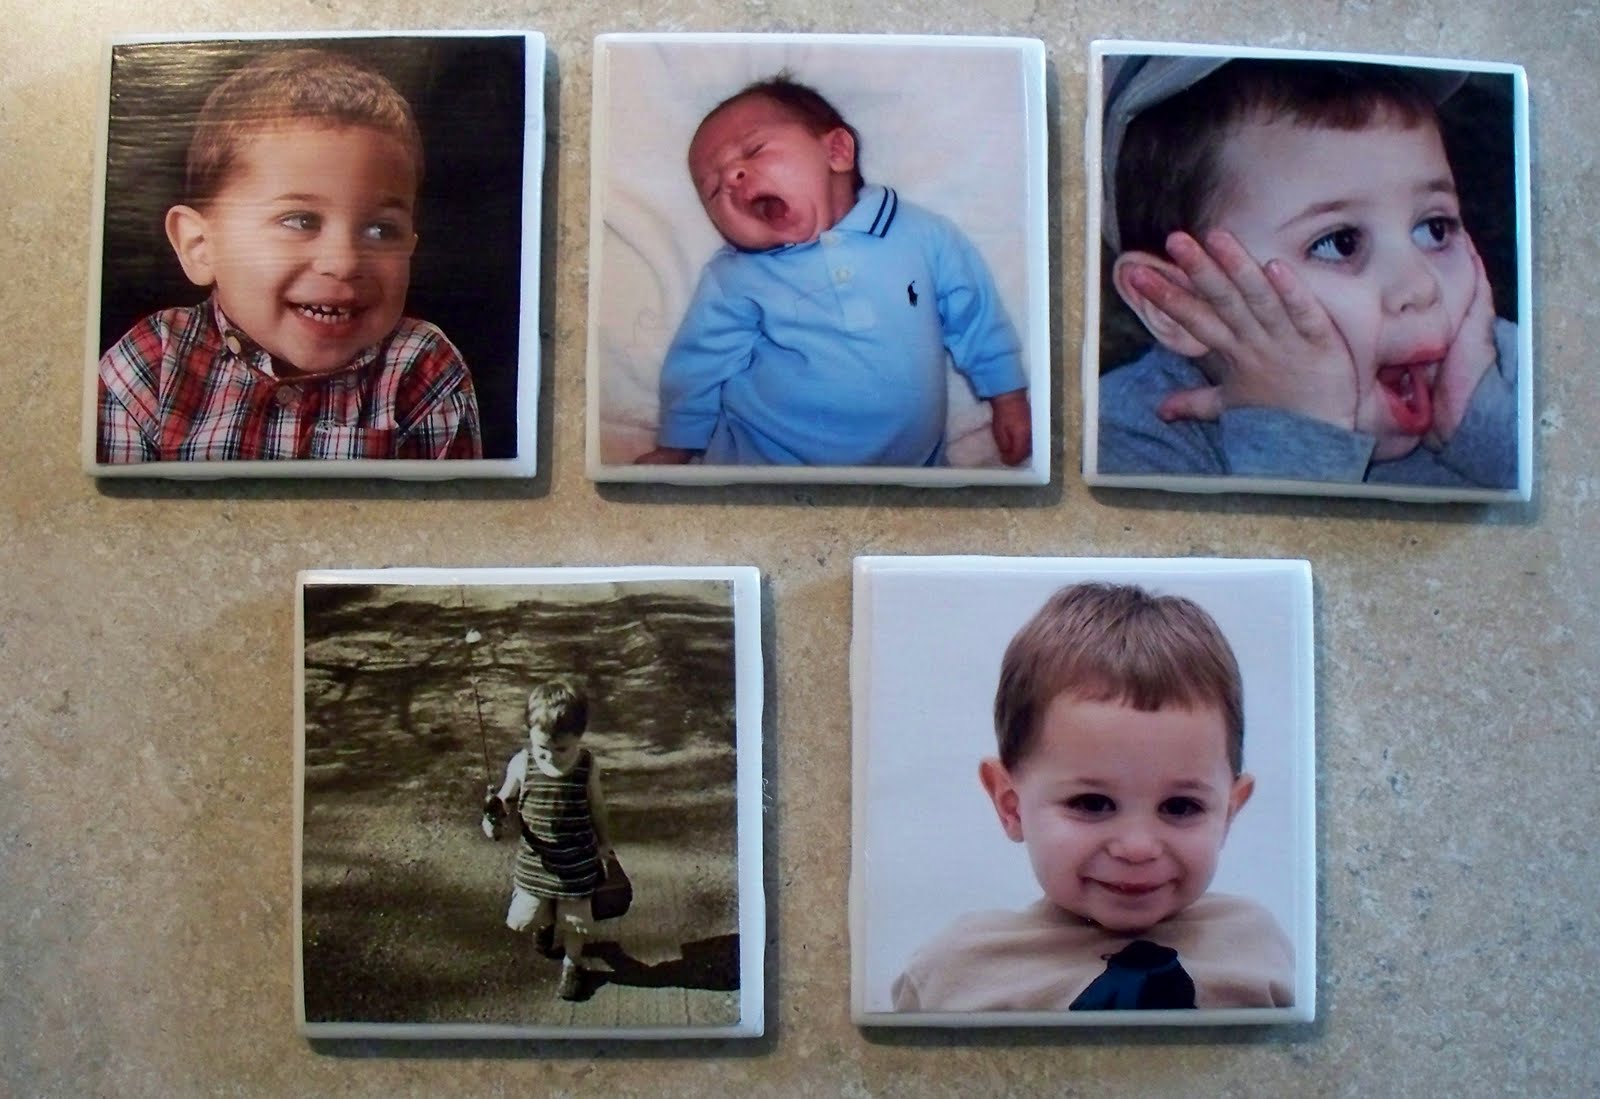
Photos
Cermaic Tiles ( I got mine at Lowe's)
Mod Podge (Glossy- can find at Wal-mart or Michael's or other craft stores)
Acrylic Coating Spray (Original directions called for glossy but I used satin finish)
Felt
Hot glue gun
Sponge applicators
Directions:
- Trim photo to fit tile
- Apply Mod Podge to back of photo with sponge applicator. Press photo down onto tile and allow to dry completely.
- Once dry, apply a layer of Mod Podge with sponge applicator to top of photo. Use even left to right strokes (lines will show). Allow to dry completely
- Repeat two more layers of Mod Podge allowing each layer to dry completely before applying next.
- Once the three layers of Mod Podge have dried completely, take them outside.
- Lay on wax paper, news paper, or cardboard. Apply 5-6 coates of acrylic coating spray allowing each to dry completely before adding next coat.
- Cut felt to fit tile and apply to back of tile with hot glue gun.
1 comment:
While I didn't make them, I bought my mother in law a set of glass ones that the photos fit in a few year ago for Christmas and they were so cute. I love these even more!
Post a Comment